Copilot Studio – Create Customer Flow Setup
Step 1
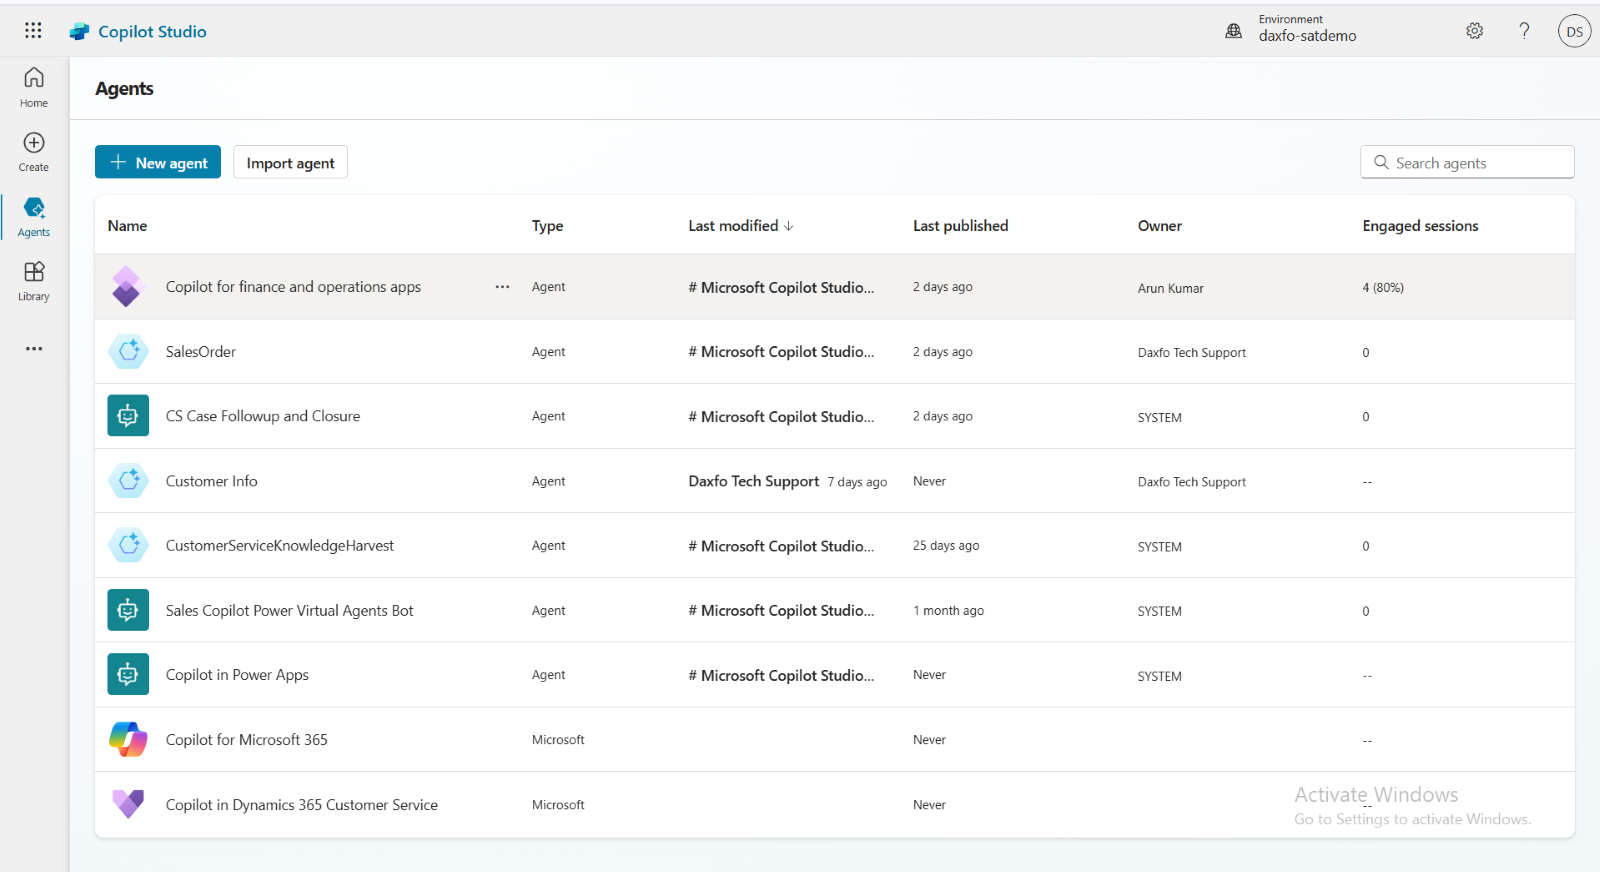
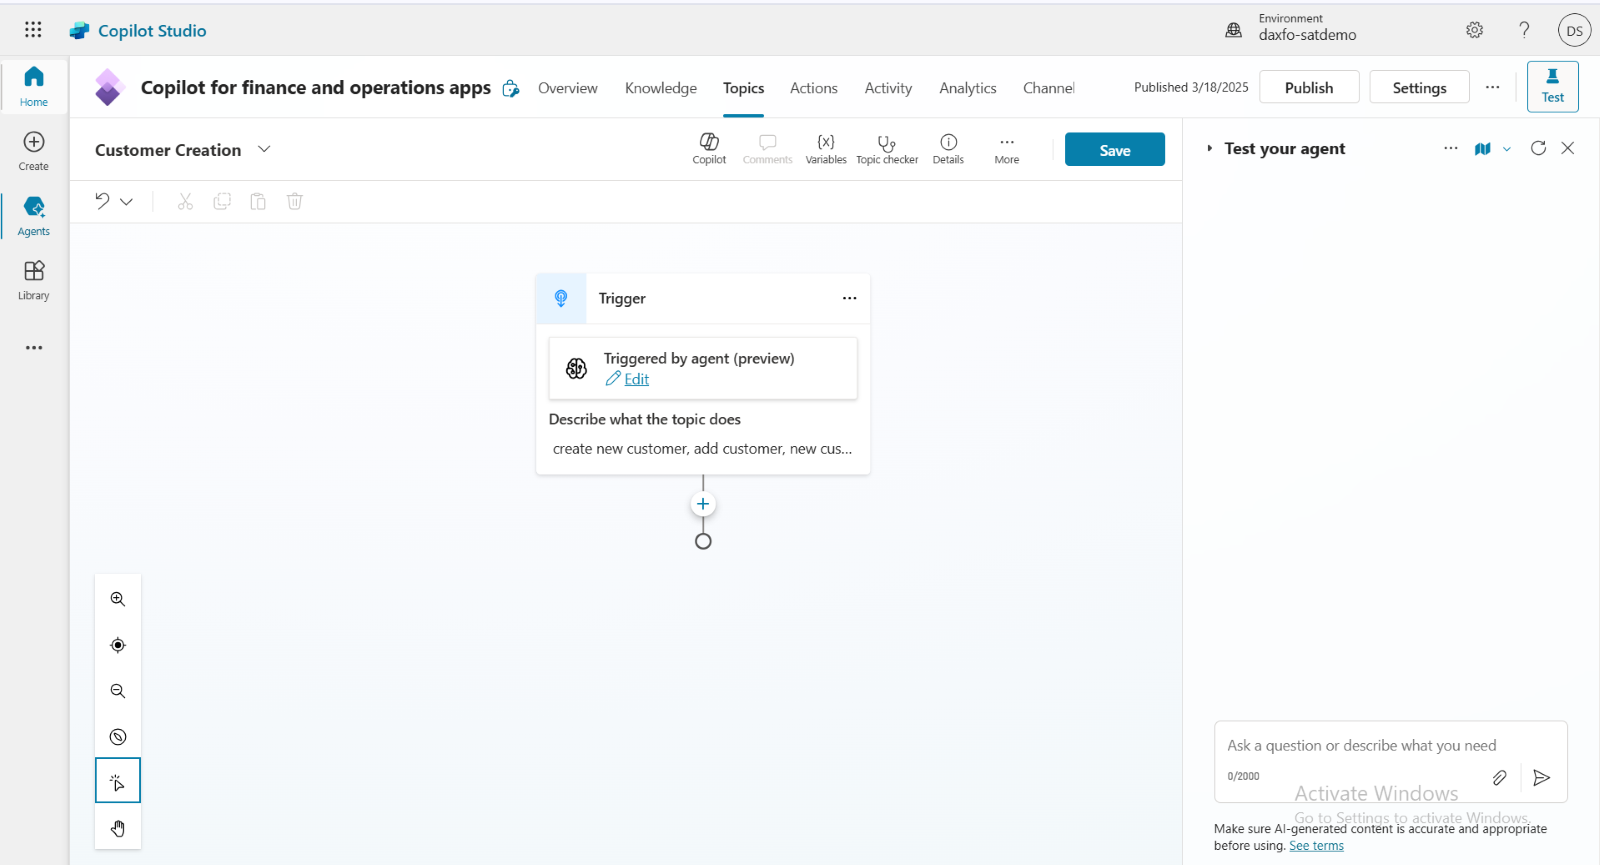
Open Copilot Studio and select "Copilot for Finance and Operations Apps" under the agent. In this setup, we are utilizing the standard agent for the selected environment.
Step 2
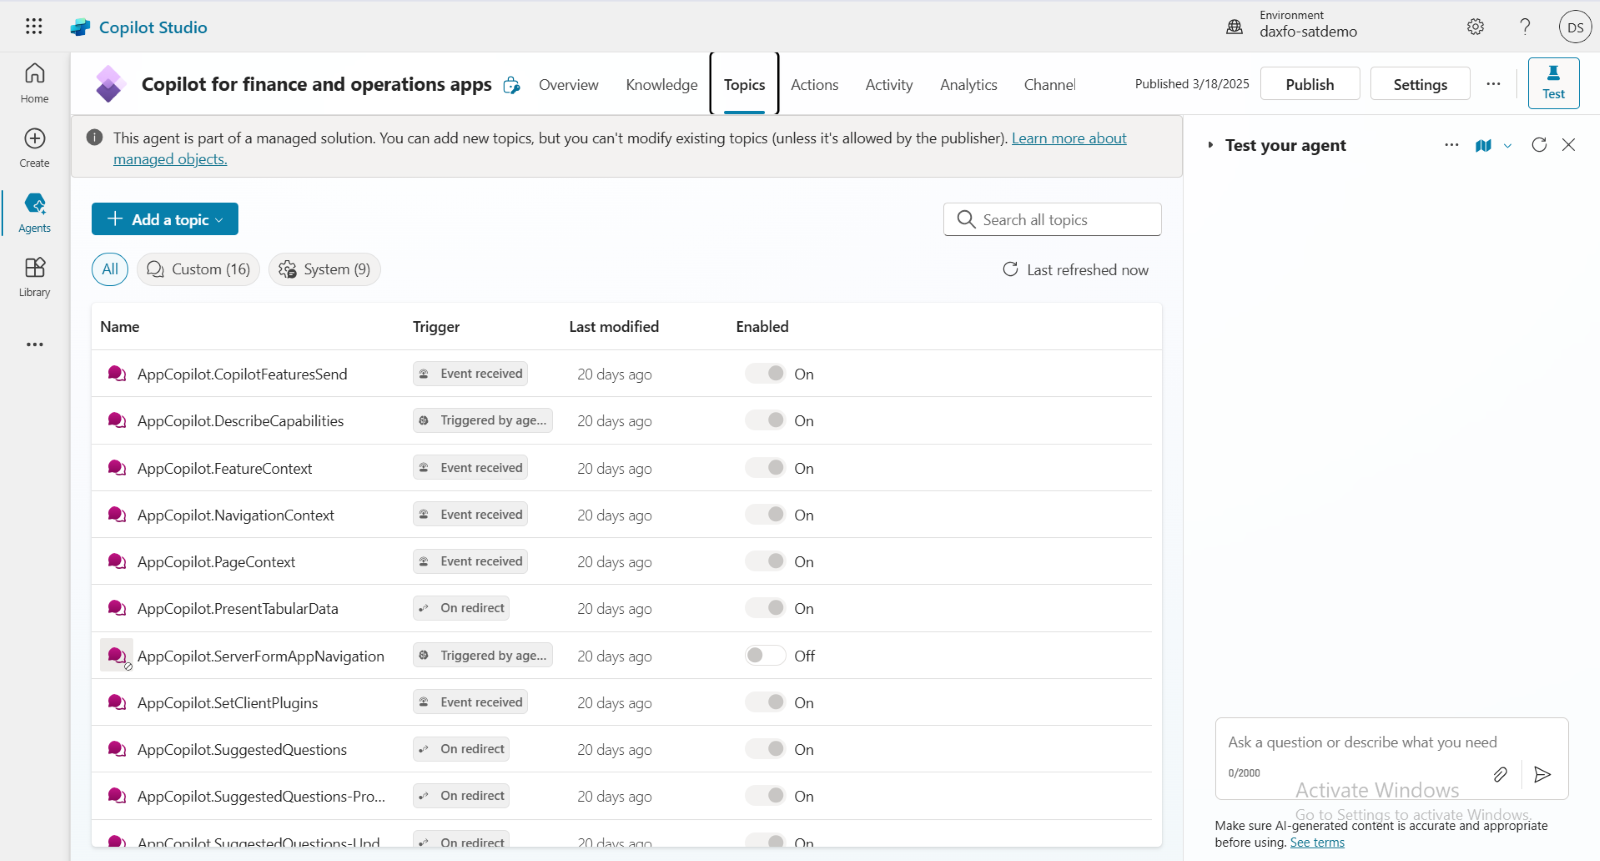
From the tab - click on ‘Topics’ to add a new topic to the agent.
Step 3
Furthermore, click on "Add a Topic" and select the required design.
- From Blank – We need to manually add the description and required details before creating a topic.
- Created from Description with Copilot – we only required to add the name and description.
Click on "Create from Description with Copilot" to proceed.

Step 4
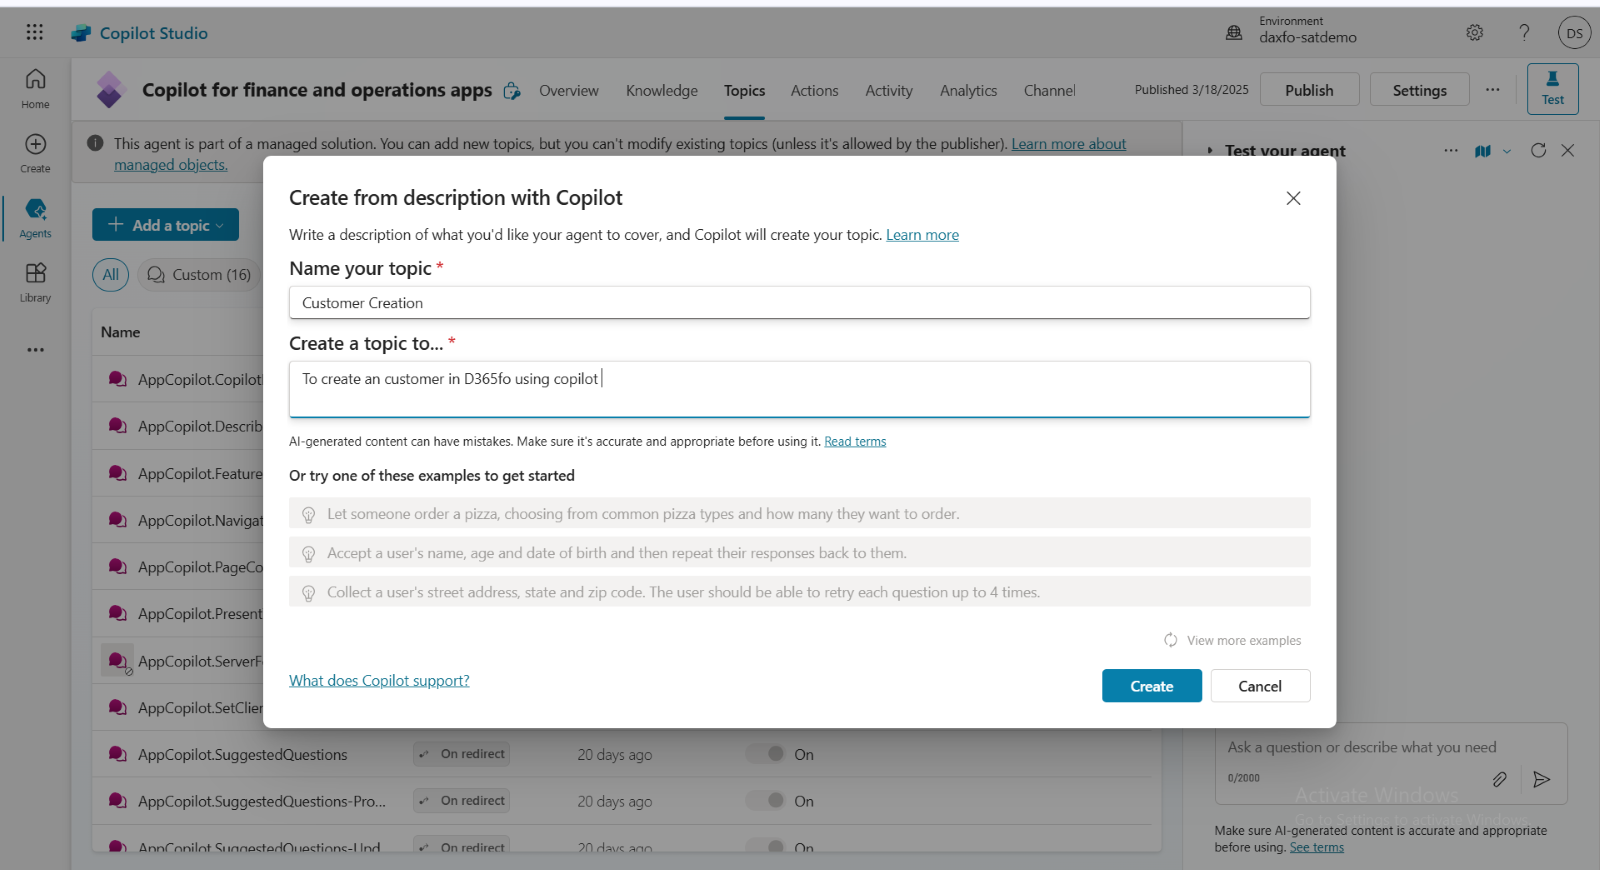
Specify the name and description of the topic, then click the "Create" button.
Step 5
Additionally, if required, the description can be modified by manually inserting preset keywords to minimize downtime and repetition.
Step 6
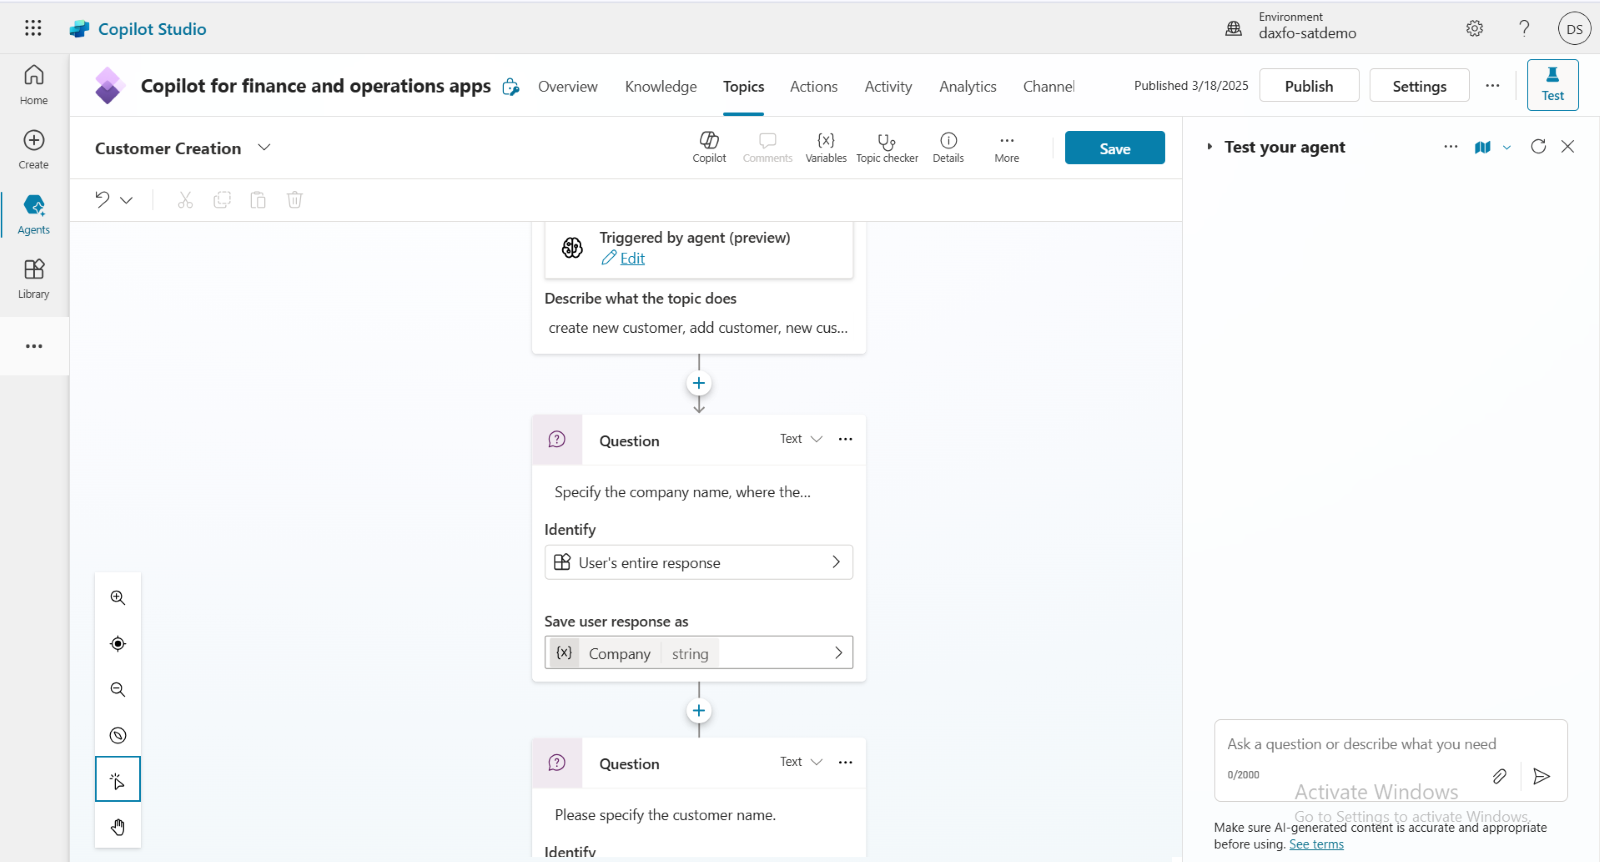
Then click on ‘+ icon’ and select ‘Ask a Question’.
In the description, specify the question you would like to ask when creating a customer.
For example: "Specify the company where the customer needs to be created."
Next, in the Identify tab, select "User’s entire response" to store the user's
complete input.
Step 7
Similarly, click on the "+" icon, select "Ask a Question," and set the next required question for creating a customer.

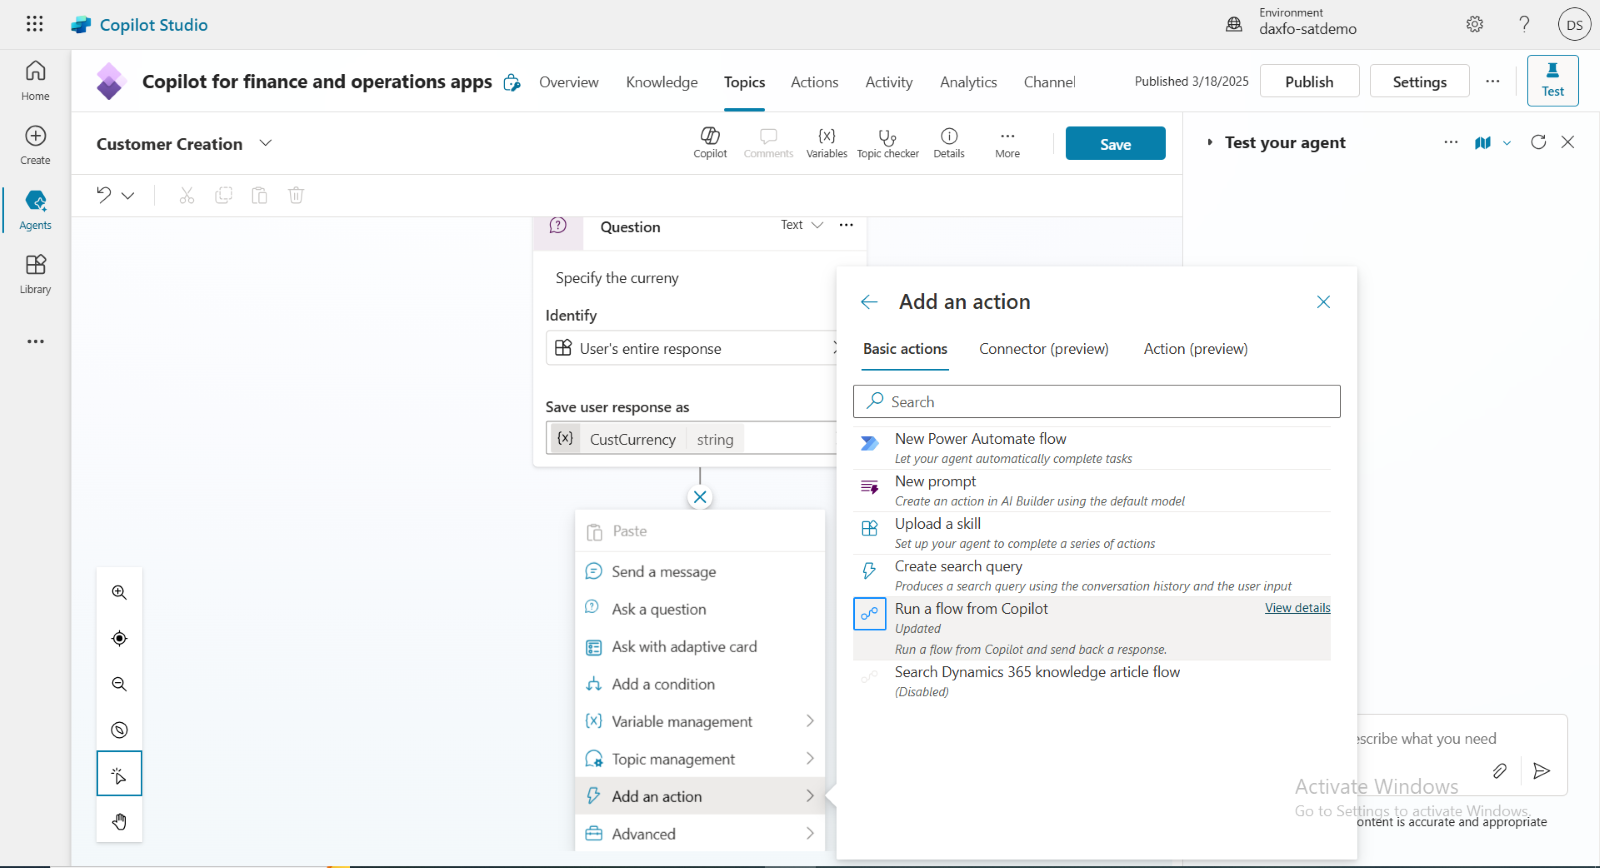
Step 8
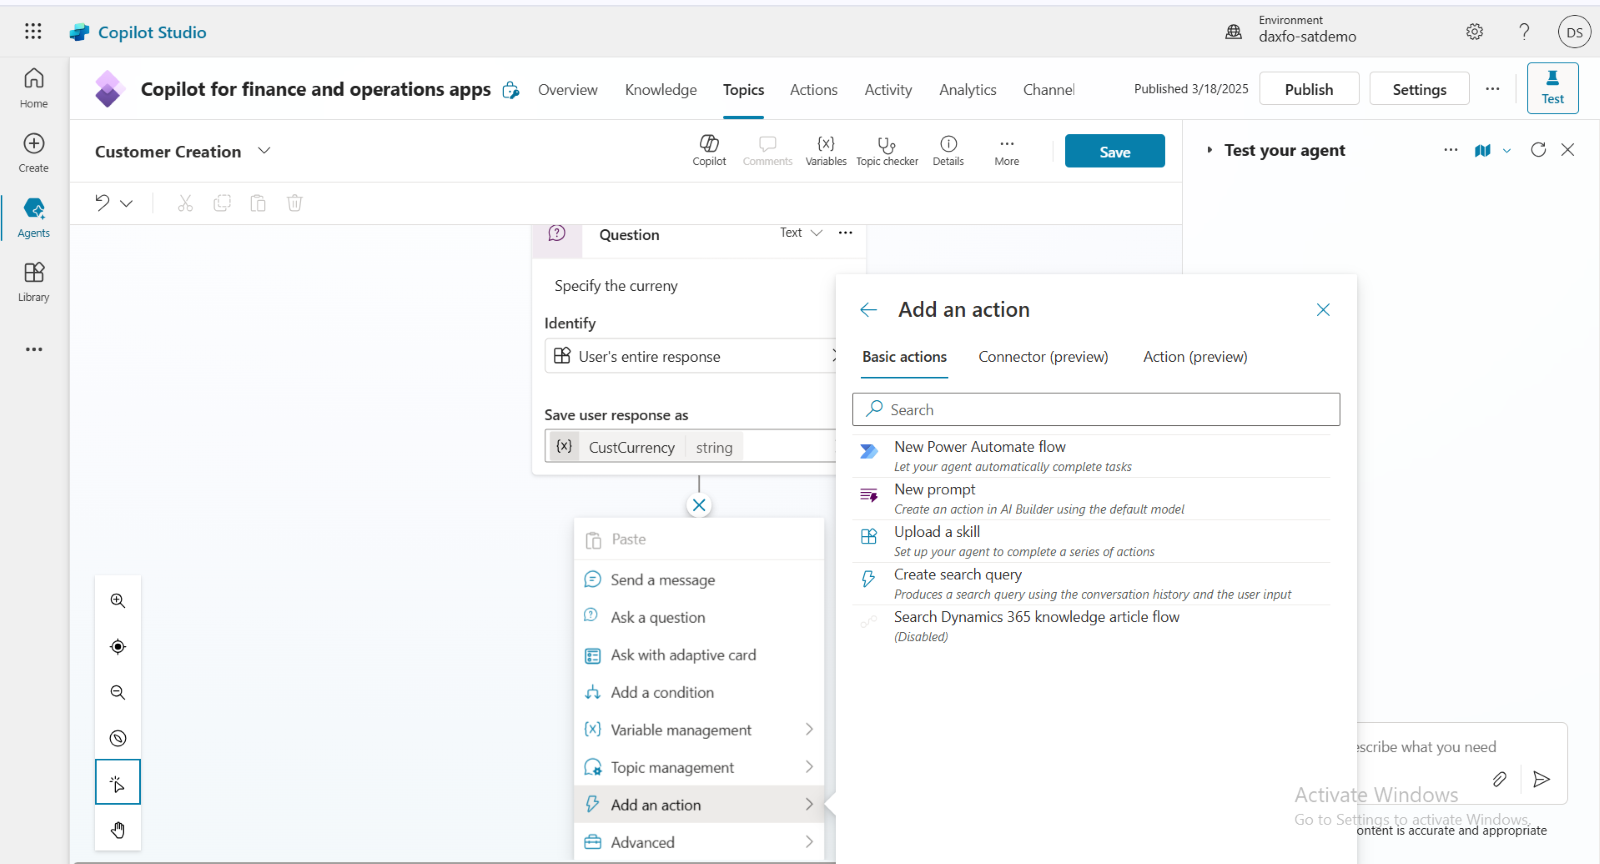
Once all the required questions have been added, click on the "+" icon and select "Add an Action." This will automatically open the Power Automate page.
Step 9
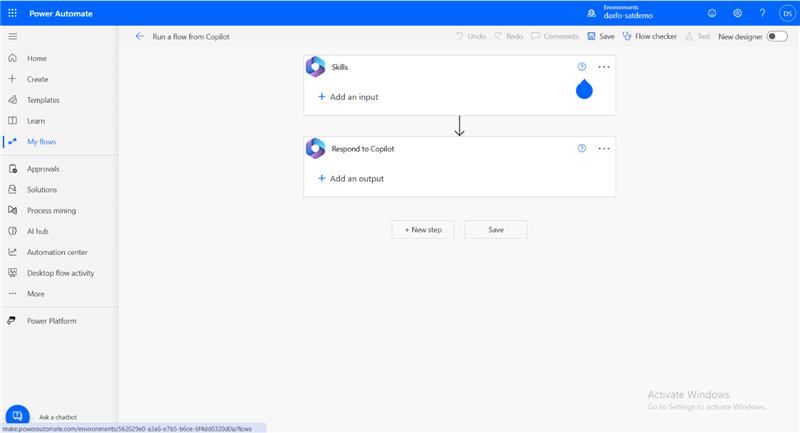
On the Power Automate page, two nodes are automatically added since the flow is triggered from Copilot:
- Skill – Input from Copilot
- Respond to Copilot – Output from the flow to Copilot
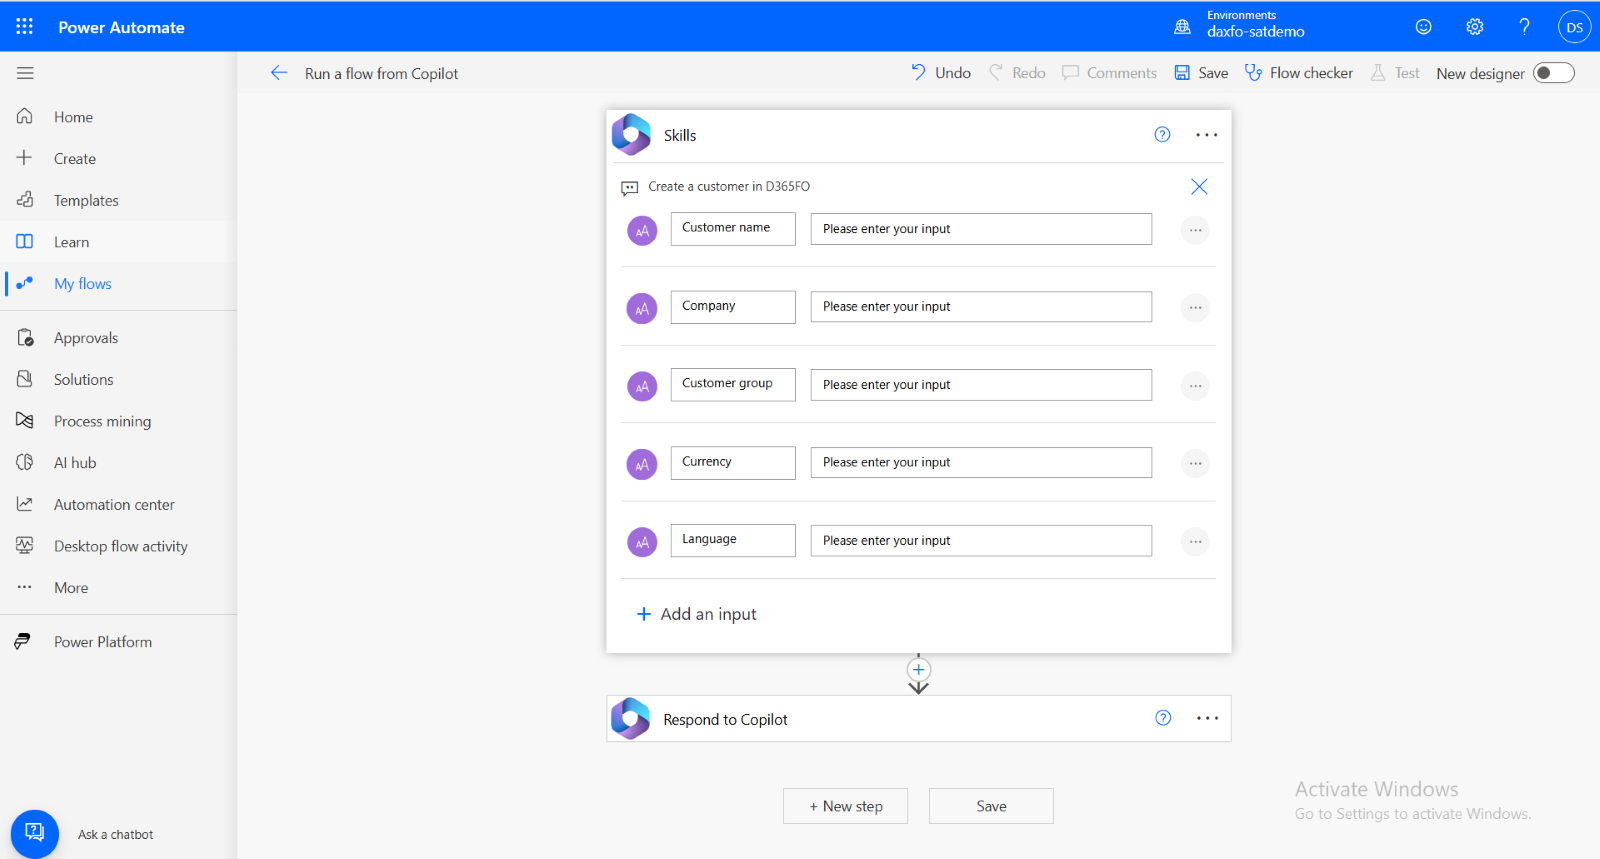
Step 10
In the Skill node, add the input variables that need to be passed from Copilot to the flow. Here, we have added the input for the variable created in Copilot.
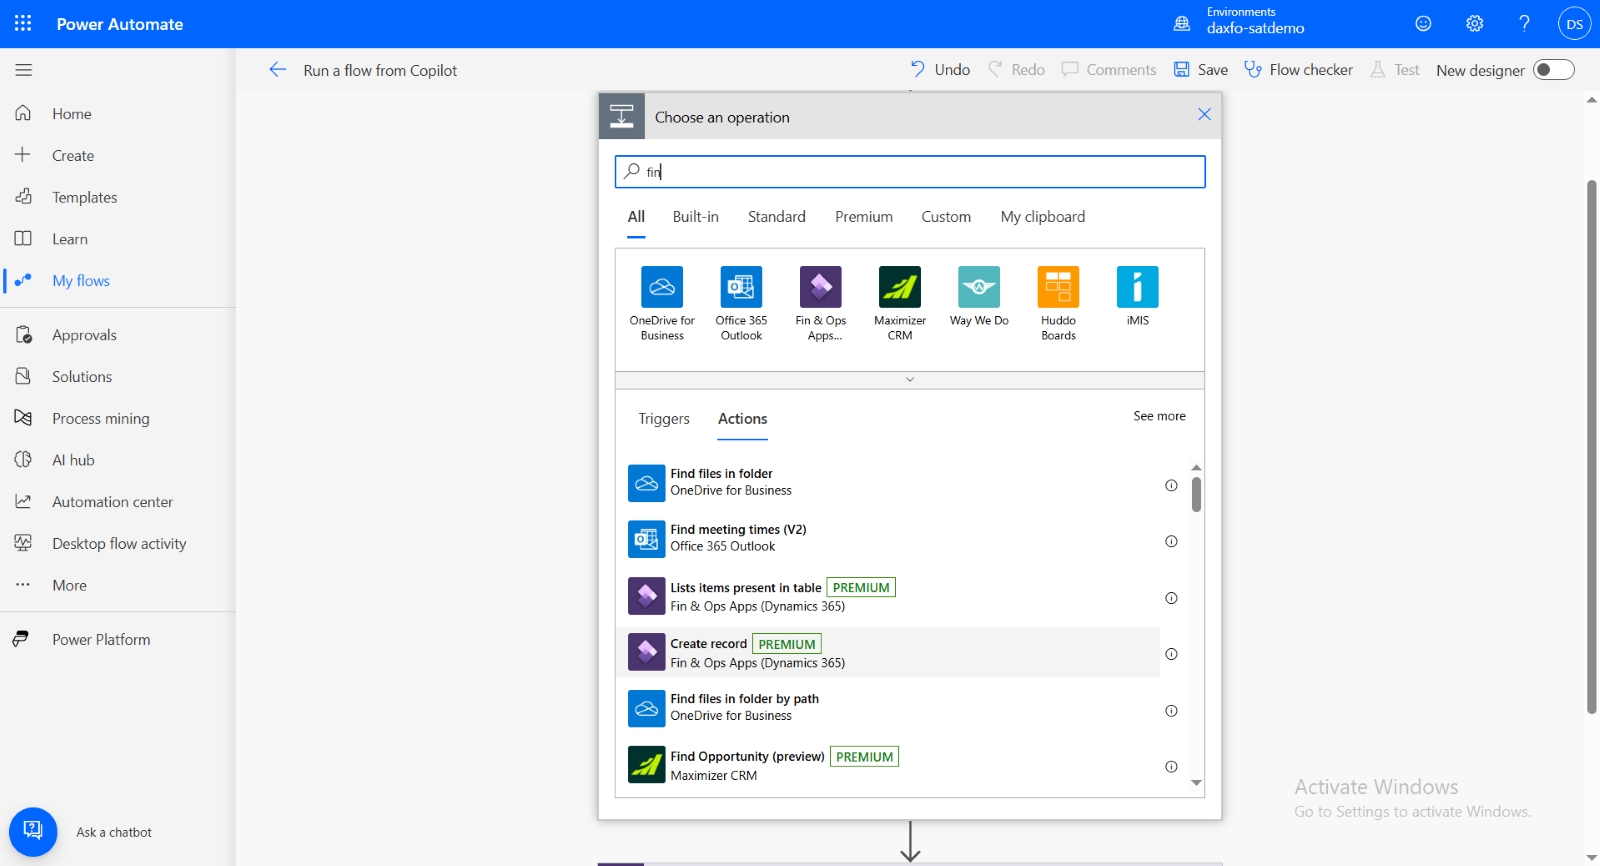
Step 11
Then, click on the "+" icon and add the Fin&Ops operation to create a record in F&O. Select "Create record" under the Fin & Ops operation.
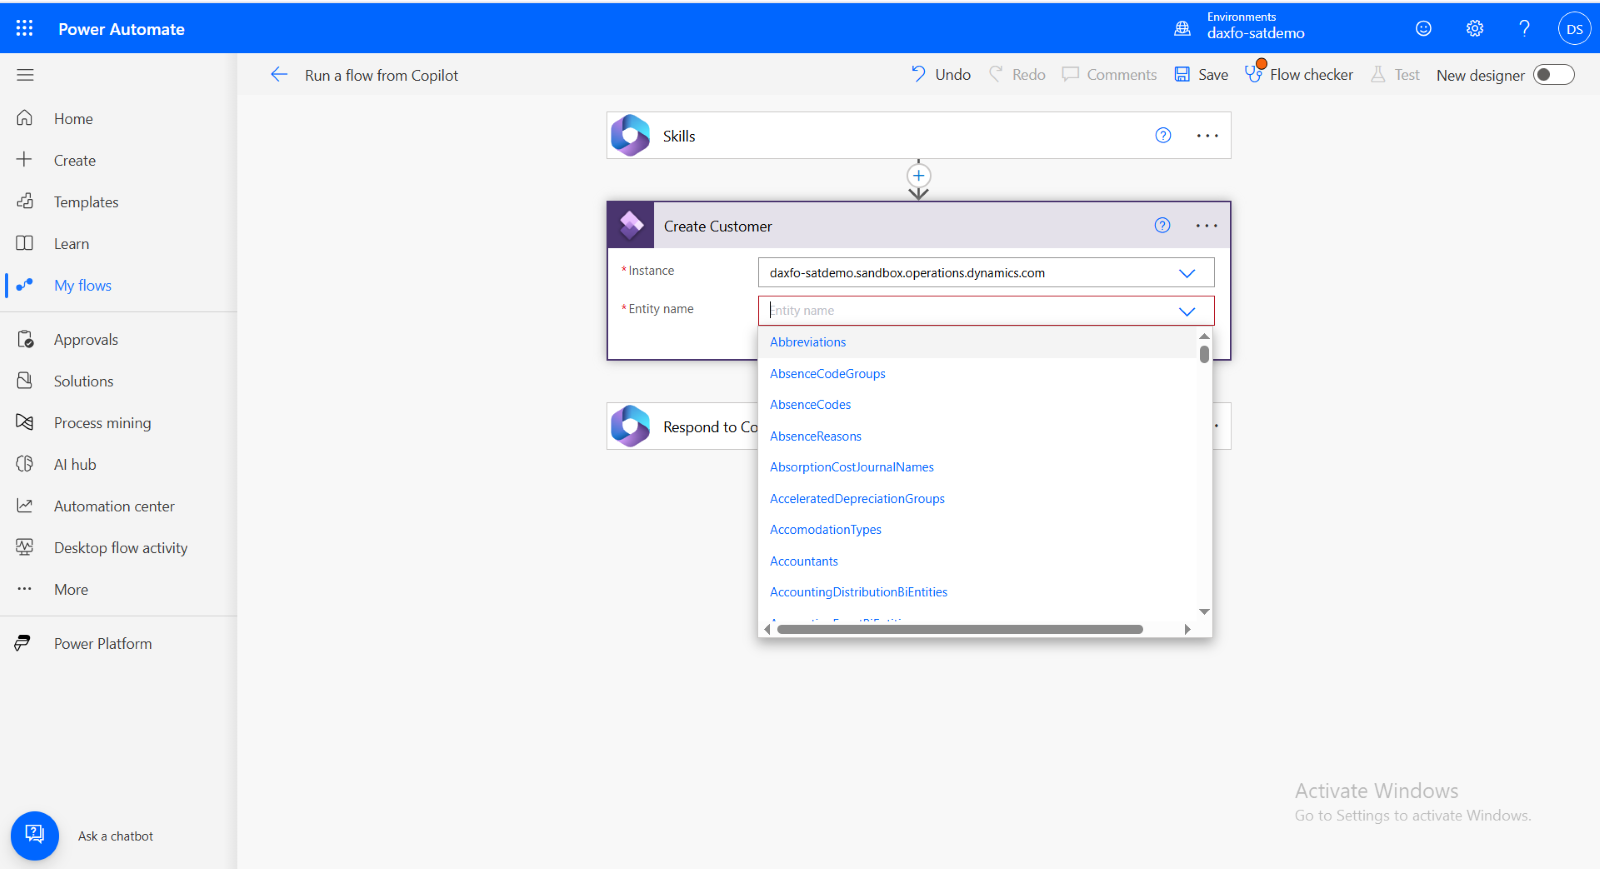
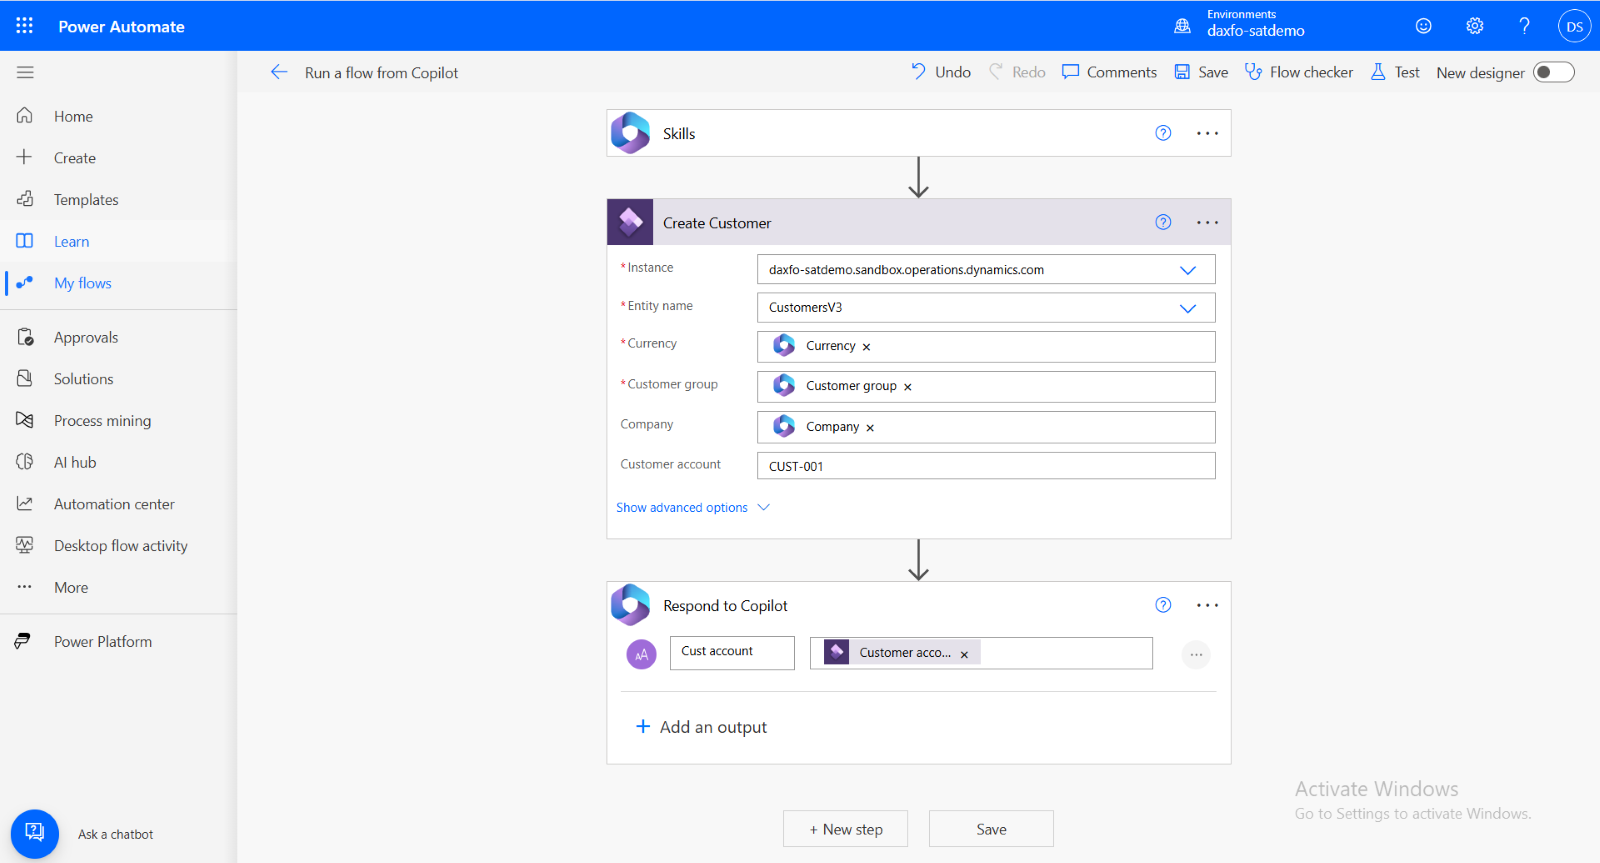
Step 12
Rename the node as required; here, we have renamed it "Create Customer."
Select the instance (environment URL).
In the Entity Name field, choose "Customer V3" for creating a customer.
Step 13
In the Respond to Copilot node, add the variable that needs to be passed to Copilot to display the output.
Step 14
Once the flow is created, click on "Save" and navigate back to the Copilot Studio page.
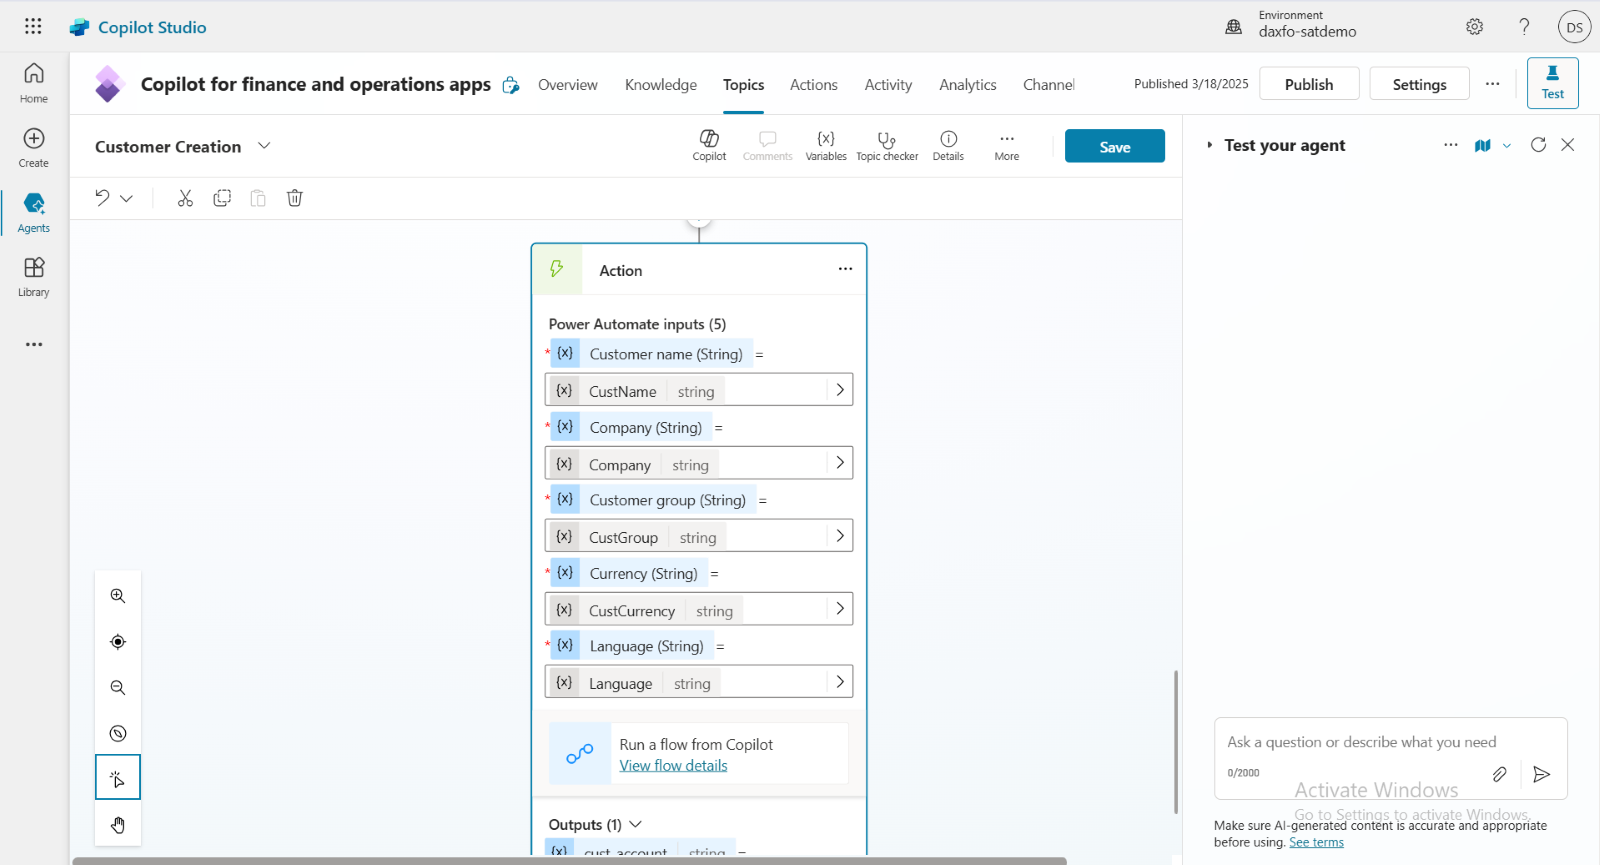
Step 15
In Copilot Studio, click on "Add an Action," and select the flow created in
Power Automate.
In the Action tab, specify the variables declared in Copilot Studio.
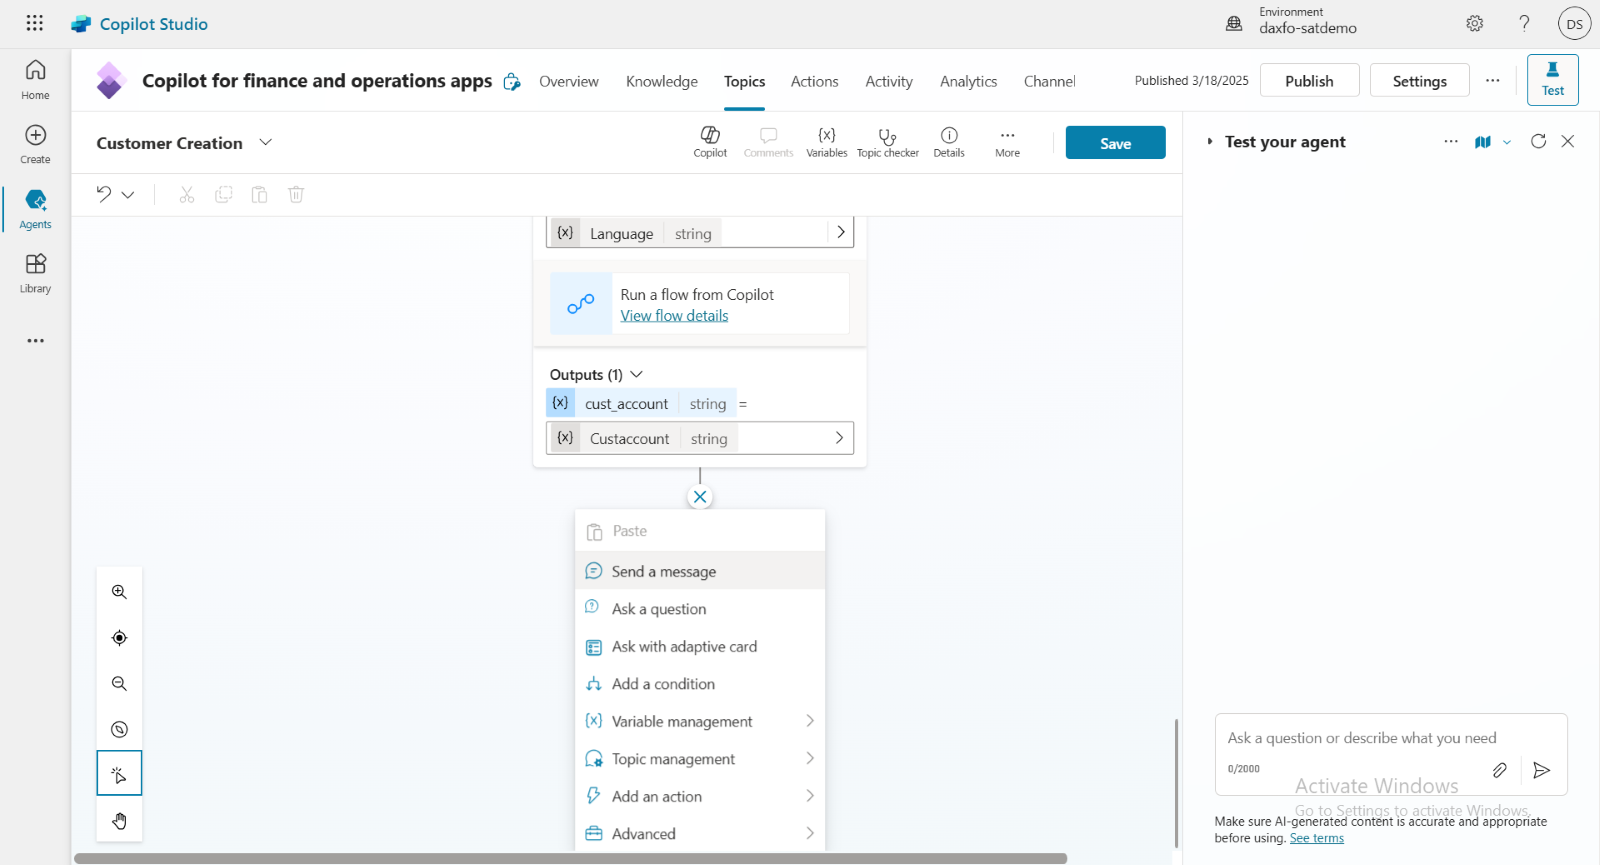
Then, click on "Send a Message" to display a message once the record is created
in F&O.
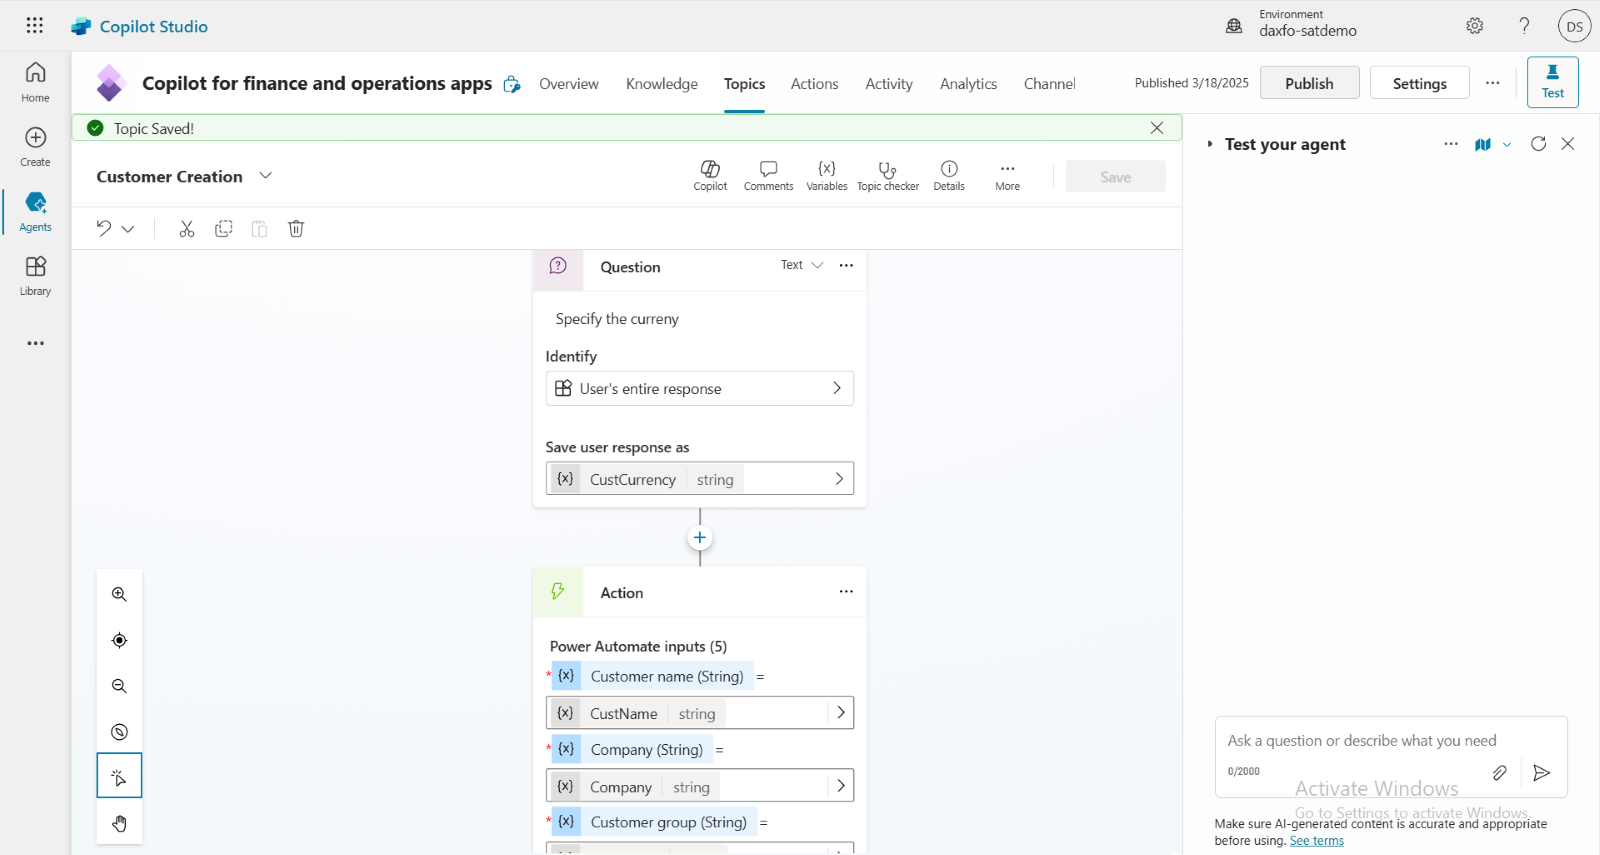
Step 16
Once all actions are completed, click on "Save" and then "Publish" to apply changes.
Step 17
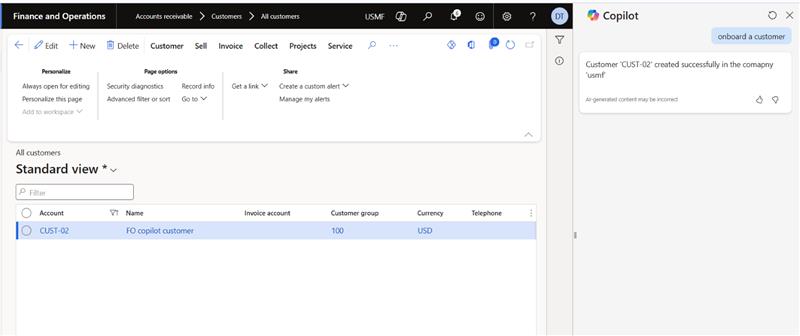
Once published, go to D365FO (connected to this Copilot). In the Copilot side panel, ask Copilot to create a customer.
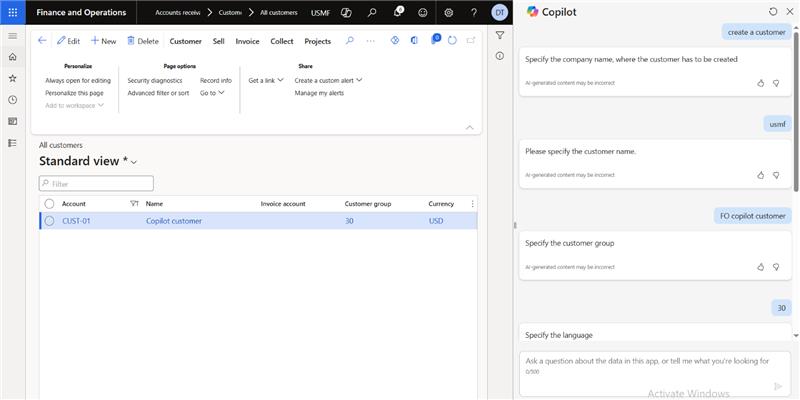
Step 18
Once the connection is enabled, go to F&O and click on "Retry" to proceed.
The record will be successfully created in D365FO.